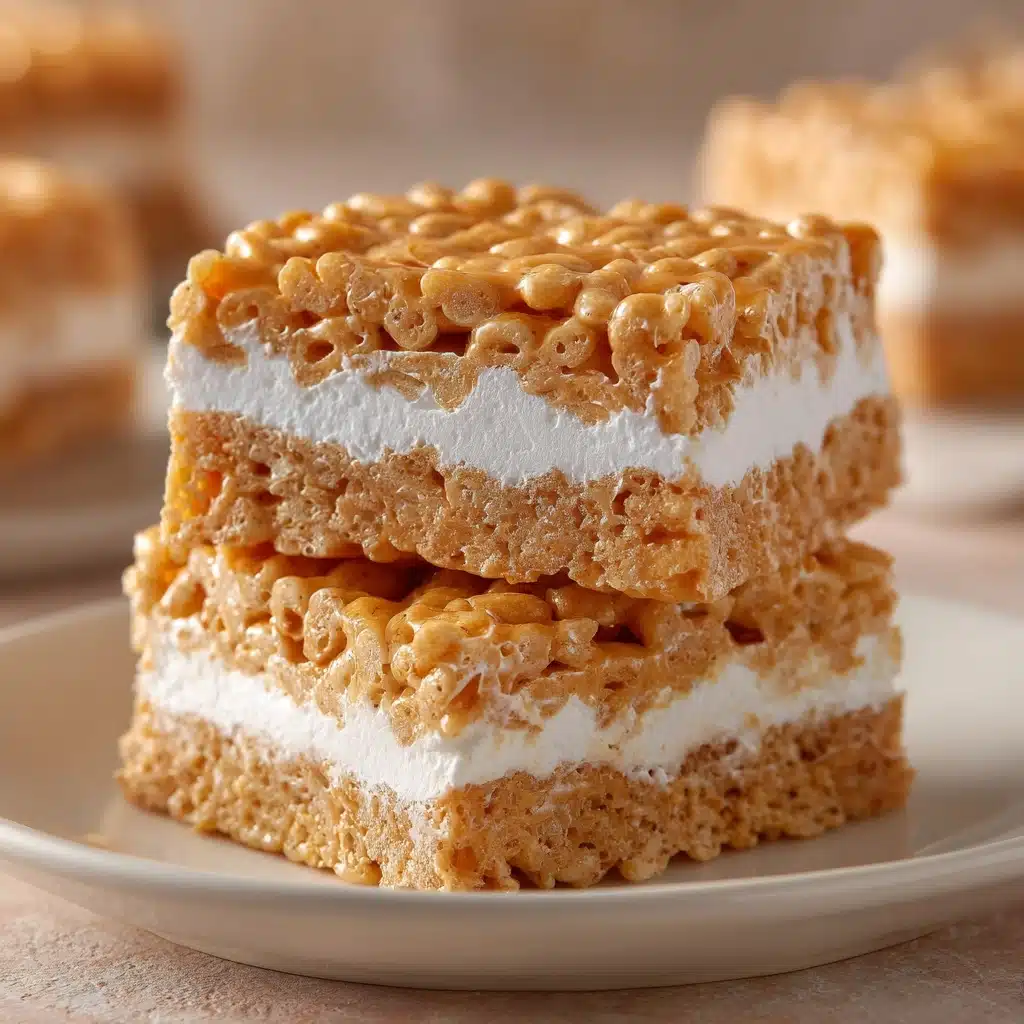
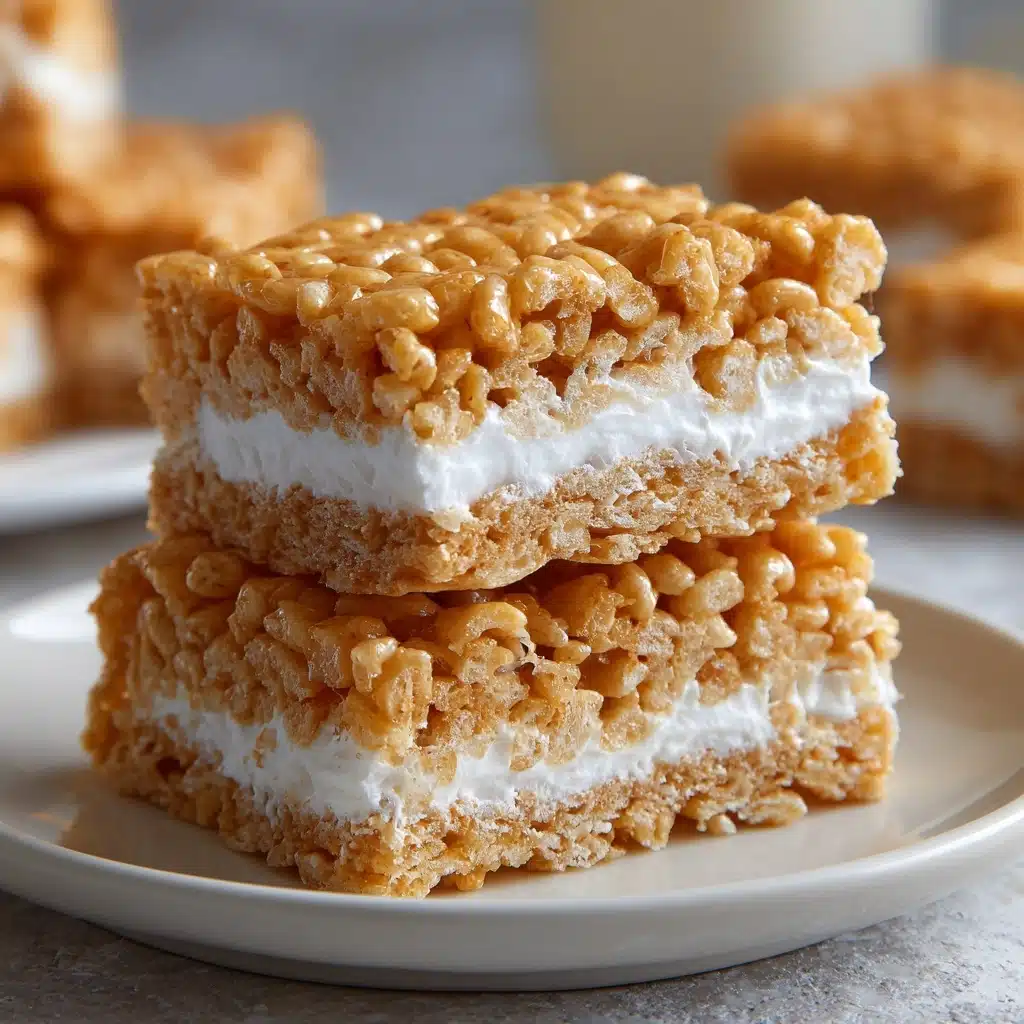
If this image is of a ** Recipe
If this image is of a **recipe** you’ve been craving, then get ready for a real treat! Whether you’ve stumbled here searching for inspiration or you’re about to bring a nostalgic favorite to life, this article is your friendly roadmap to deliciousness. With simple directions, a joyful approach, and all my best tips, you’ll easily transform basic ingredients into an extraordinary plate. If this image is of a **comforting dish**, you’re absolutely in the right place—let’s dive into the details and celebrate just how fun home cooking can be.
Ingredients You’ll Need
-
Dry Ingredients:
- 2 1/4 cups all-purpose flour
- 1 teaspoon baking soda
- 1/2 teaspoon salt
Wet Ingredients:
- 1 cup unsalted butter, softened
- 3/4 cup granulated sugar
- 3/4 cup packed brown sugar
- 1 teaspoon vanilla extract
- 2 large eggs
Additions:
- 2 cups semisweet chocolate chips
- 1 cup chopped nuts (optional)
How to Make If this image is of a **
Step 1: Gather and Prep All the Ingredients
Before you begin, get all your ingredients ready—chop, measure, and set out everything within reach. Trust me, prepping ahead means everything flows smoothly and nothing gets forgotten or rushed. If this image is of a **favorite family meal**, prepping together can even turn recipe time into a shared event!
Step 2: Build the Flavor Base
Start by sautéing your aromatics (like onions and garlic) in a splash of oil or butter. Wait for the kitchen to fill with that cozy, inviting smell. This step is where the magic begins, building the backbone for all the luscious flavors to come.
Step 3: Add Main Ingredients and Seasonings
Once your kitchen smells like pure joy, stir in the main ingredients—think vegetables, protein, or grains. Sprinkle in your herbs and spices, letting them toast together until everything is coated and the edges start to caramelize or soften, depending on your main.
Step 4: Pour in Broth or Liquid
With everything well-seasoned, it’s time to add your broth or liquid of choice. Stir well and bring the mixture to a gentle simmer. This is when your kitchen officially becomes irresistible—so let the dish cook until everything melds together perfectly.
Step 5: Taste, Adjust, and Finish
Give the final dish a taste and fine-tune with a pinch of salt, a squeeze of lemon, or an extra shake of seasoning if needed. If this image is of a **classic comfort food**, now’s the perfect moment to add a finishing flourish, whether it’s a handful of herbs or something with a pop of color. Serve immediately or let the flavors deepen as it rests!
How to Serve If this image is of a **
Garnishes
Don’t underestimate the difference a sprinkle or drizzle can make at the table. Fresh herbs, crunchy seeds, or a swirl of quality olive oil bring both flavor and personality. If this image is of a **bistro-style dish**, an artful garnish will capture that restaurant flair right at home.
Side Dishes
Pair this dish with sides that balance or enhance its main flavors. Crusty bread, a crisp green salad, or even simply steamed veggies are all fantastic additions. If this image is of a **family favorite**, classic sides might be just the tradition everyone looks forward to.
Creative Ways to Present
Get playful! Serve in big communal bowls for sharing, plate in individual ramekins, or build layers for a dramatic look. If this image is of a **celebratory meal**, adding a playful touch to presentation makes every serving feel extra special.
Make Ahead and Storage
Storing Leftovers
Let any leftovers cool to room temperature before transferring them to airtight containers. Stored in the fridge, they’ll keep fresh and flavorful for up to 3 days. If this image is of a **hearty stew or casserole**, the flavors may deepen overnight for even tastier seconds.
Freezing
For longer storage, freeze individual portions in well-sealed, freezer-safe containers. Most dishes will keep their deliciousness for up to 3 months, making weeknight meals a breeze down the road. Be sure to label containers with the date and dish name for easy identification—especially if this image is of a **big-batch recipe**.
Reheating
Gently reheat leftovers on the stovetop or in the microwave, stirring occasionally so everything heats evenly. Add a splash of broth or water if things look a little thick. If this image is of a **creamy or cheesy dish**, gentle heating helps maintain the best possible texture.
FAQs
Can I substitute ingredients if I have allergies or preferences?
Absolutely! If this image is of a **vegetarian meal**, but you’re craving protein, swap in your favorite beans or tofu. Feel free to tailor herbs, spices, and liquid bases to fit dietary needs or personal tastes.
How do I know my dish is finished cooking?
Pay attention to the texture—ingredients should be tender or cooked through, and flavors thoroughly blended. A taste test is always your best guide, especially if this image is of a **slow-simmered recipe**.
Is this dish suitable for meal prepping?
Definitely! With its make-ahead ease and delicious leftovers, this recipe is meal-prep friendly. Portion out servings, refrigerate, and reheat as needed for quick meals all week.
What’s the best way to double this recipe?
If you’re feeding a crowd, simply scale up the ingredients and use a larger pot or baking dish. Cooking times may need adjustment, but the process stays the same. If this image is of a **crowd-pleaser**, it’s always a hit at potlucks!
Can I make this vegan or gluten-free?
Of course! Choose plant-based proteins, dairy substitutes, or gluten-free grains and broth. If this image is of a **classic but adaptable dish**, these tweaks will still deliver tons of flavor and satisfaction.
Final Thoughts
That’s everything you need to bring If this image is of a ** into your own kitchen! I can’t wait for you to try it—don’t be shy about tweaking, tasting, and having fun along the way. Tag a friend or share a photo once you’ve given it a whirl, and happy cooking!
Print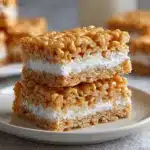
If this image is of a ** Recipe
- Total Time: 30 minutes
- Yield: Makes about 24 cookies 1x
- Diet: Vegetarian
Description
This delicious recipe for homemade chocolate chip cookies yields perfectly soft and chewy treats that are sure to please everyone’s sweet tooth. With just the right balance of sweetness and rich chocolate flavor, these cookies are a classic favorite for any occasion.
Ingredients
Dry Ingredients:
- 2 1/4 cups all-purpose flour
- 1 teaspoon baking soda
- 1/2 teaspoon salt
Wet Ingredients:
- 1 cup unsalted butter, softened
- 3/4 cup granulated sugar
- 3/4 cup packed brown sugar
- 1 teaspoon vanilla extract
- 2 large eggs
Additions:
- 2 cups semisweet chocolate chips
- 1 cup chopped nuts (optional)
Instructions
- Preheat the Oven: Preheat oven to 375°F (190°C) and line baking sheets with parchment paper.
- Mix Dry Ingredients: In a small bowl, whisk together the flour, baking soda, and salt. Set aside.
- Cream Butter and Sugars: In a large mixing bowl, cream together the butter, granulated sugar, and brown sugar until light and fluffy.
- Add Wet Ingredients: Beat in the vanilla extract and eggs until well combined.
- Combine and Fold: Gradually add the dry ingredients into the wet mixture, mixing until just combined. Fold in the chocolate chips and nuts, if using.
- Scoop and Bake: Drop rounded tablespoons of dough onto the prepared baking sheets. Bake for 9-11 minutes or until golden brown.
- Cool and Enjoy: Allow the cookies to cool on the baking sheets for a few minutes before transferring to a wire rack to cool completely. Enjoy!
Notes
- You can chill the dough for a few hours or overnight for richer flavor and a slightly different texture.
- For extra chocolatey cookies, use a mixture of semisweet and milk chocolate chips.
- Prep Time: 20 minutes
- Cook Time: 10 minutes
- Category: Dessert
- Method: Baking
- Cuisine: American
Nutrition
- Serving Size: 1 cookie
- Calories: 180
- Sugar: 12g
- Sodium: 150mg
- Fat: 9g
- Saturated Fat: 5g
- Unsaturated Fat: 3g
- Trans Fat: 0g
- Carbohydrates: 23g
- Fiber: 1g
- Protein: 2g
- Cholesterol: 25mg
