Coconut Cream Pie
Why You’ll Love This Recipe
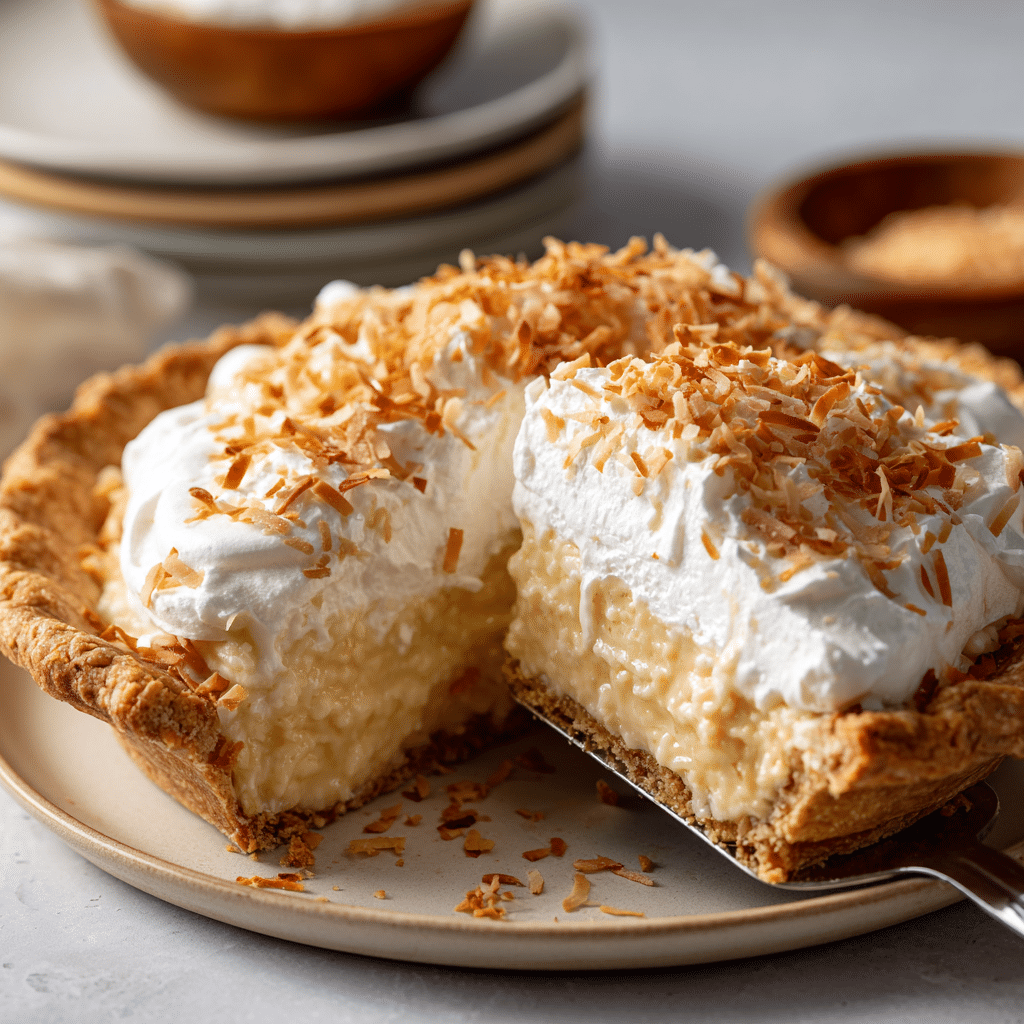
Coconut Cream Pie is a luscious, old-fashioned dessert featuring a rich, creamy coconut custard nestled in a buttery pie crust and topped with billowy whipped cream and toasted coconut. Its blend of tropical flavor and silky texture makes it a timeless favorite for holidays, gatherings, or just a sweet indulgence.
ingredients
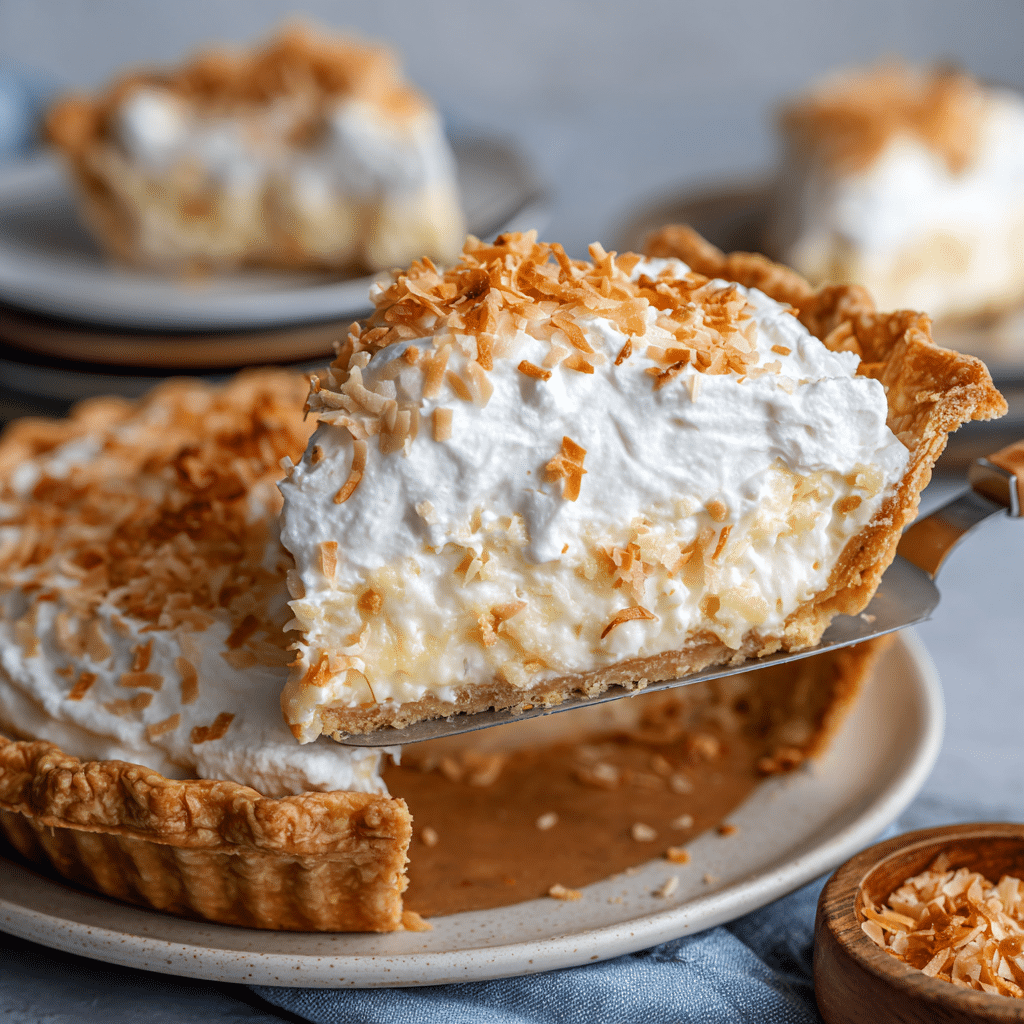
(Tip: You’ll find the full list of ingredients and measurements in the recipe card below.)
pie crust (pre-baked or homemade)whole milkheavy creamgranulated sugarsaltcornstarchegg yolksunsalted buttervanilla extractcoconut extractshredded sweetened coconutwhipped cream (for topping)toasted coconut flakes (for garnish)
directions
Pre-bake your pie crust according to package or recipe instructions and let it cool completely.
In a medium saucepan, combine milk, cream, sugar, and salt. Heat over medium until steaming but not boiling.
In a separate bowl, whisk cornstarch and egg yolks until smooth.
Slowly add a bit of the hot milk mixture into the yolk mixture to temper, then pour it all back into the saucepan.
Cook over medium heat, stirring constantly, until the mixture thickens into a custard.
Remove from heat and stir in butter, vanilla extract, coconut extract, and shredded coconut.
Pour the hot filling into the cooled pie crust, spreading evenly.
Cover with plastic wrap directly on the surface of the filling and refrigerate for at least 4 hours or until fully set.
Before serving, top with whipped cream and sprinkle with toasted coconut.
Servings and timing
This recipe yields 8 slices.Preparation time: 20 minutesCooking time: 10-12 minutesChilling time: 4 hoursTotal time: 4 hours 30 minutes
Variations
Use a graham cracker or chocolate crust for a twist on the classic.
Add chopped pineapple to the filling for a pina colada vibe.
Make it dairy-free using coconut milk and plant-based whipped cream.
Top with meringue instead of whipped cream for a retro touch.
storage/reheating
Store Coconut Cream Pie covered in the refrigerator for up to 4 days.Do not freeze, as the custard may separate and lose texture.Best served chilled; no reheating needed.
FAQs
Can I use canned coconut milk?
Yes, full-fat canned coconut milk can add richness and extra coconut flavor.
Is it okay to use store-bought pie crust?
Absolutely. A pre-made crust saves time and works perfectly.
Do I have to use coconut extract?
No, but it enhances the coconut flavor. You can skip it if preferred.
How do I toast coconut?
Spread coconut flakes on a baking sheet and bake at 325°F for 5-10 minutes, stirring occasionally, until golden.
Can I make it ahead of time?
Yes, it’s best made a day in advance to allow the filling to fully set.
Can I use unsweetened coconut?
Yes, though sweetened shredded coconut adds a touch of extra sweetness and moisture.
Why did my filling not set?
It may not have cooked long enough to activate the cornstarch. Ensure it thickens properly on the stove.
Can I use Cool Whip instead of whipped cream?
Yes, if you prefer the convenience or flavor.
Can I omit eggs?
Eggs are essential for the custard’s structure; substitutions may alter the texture significantly.
Is this pie gluten-free?
Only if you use a gluten-free pie crust and check that all other ingredients are gluten-free.
Conclusion
Coconut Cream Pie delivers a dreamy combination of creamy, tropical coconut filling and airy whipped topping. Whether you’re baking for a crowd or craving comfort, this pie is a guaranteed crowd-pleaser. Its classic taste and silky texture make it a must-try dessert that will have everyone asking for seconds.
Print
Coconut Cream Pie
- Total Time: 4 hours 30 minutes
- Yield: 8 slices 1x
Description
A luscious, old-fashioned dessert with creamy coconut custard in a buttery crust, topped with whipped cream and toasted coconut.
Ingredients
- 1 pre-baked pie crust (homemade or store-bought)
- 2 cups whole milk
- 1 cup heavy cream
- 3/4 cup granulated sugar
- 1/4 teaspoon salt
- 1/4 cup cornstarch
- 4 large egg yolks
- 3 tablespoons unsalted butter
- 1 teaspoon vanilla extract
- 1/2 teaspoon coconut extract
- 1 cup shredded sweetened coconut
- 1 1/2 cups whipped cream (for topping)
- 1/4 cup toasted coconut flakes (for garnish)
Instructions
- Pre-bake your pie crust according to package or recipe instructions and let it cool completely.
- In a medium saucepan, combine milk, cream, sugar, and salt. Heat over medium until steaming but not boiling.
- In a separate bowl, whisk cornstarch and egg yolks until smooth.
- Slowly add a bit of the hot milk mixture into the yolk mixture to temper, then pour it all back into the saucepan.
- Cook over medium heat, stirring constantly, until the mixture thickens into a custard.
- Remove from heat and stir in butter, vanilla extract, coconut extract, and shredded coconut.
- Pour the hot filling into the cooled pie crust, spreading evenly.
- Cover with plastic wrap directly on the surface of the filling and refrigerate for at least 4 hours or until fully set.
- Before serving, top with whipped cream and sprinkle with toasted coconut.
Notes
- Use a graham cracker or chocolate crust for a twist on the classic.
- Add chopped pineapple for a pina colada vibe.
- Make it dairy-free using coconut milk and plant-based whipped cream.
- Top with meringue instead of whipped cream for a retro touch.
- Prep Time: 20 minutes
- Cook Time: 10-12 minutes
- Category: Dessert
- Method: Stovetop + Chilling
- Cuisine: American
Nutrition
- Serving Size: 1 slice
- Calories: 450
- Sugar: 30g
- Sodium: 200mg
- Fat: 30g
- Saturated Fat: 20g
- Unsaturated Fat: 8g
- Trans Fat: 0g
- Carbohydrates: 40g
- Fiber: 2g
- Protein: 5g
- Cholesterol: 130mg
