

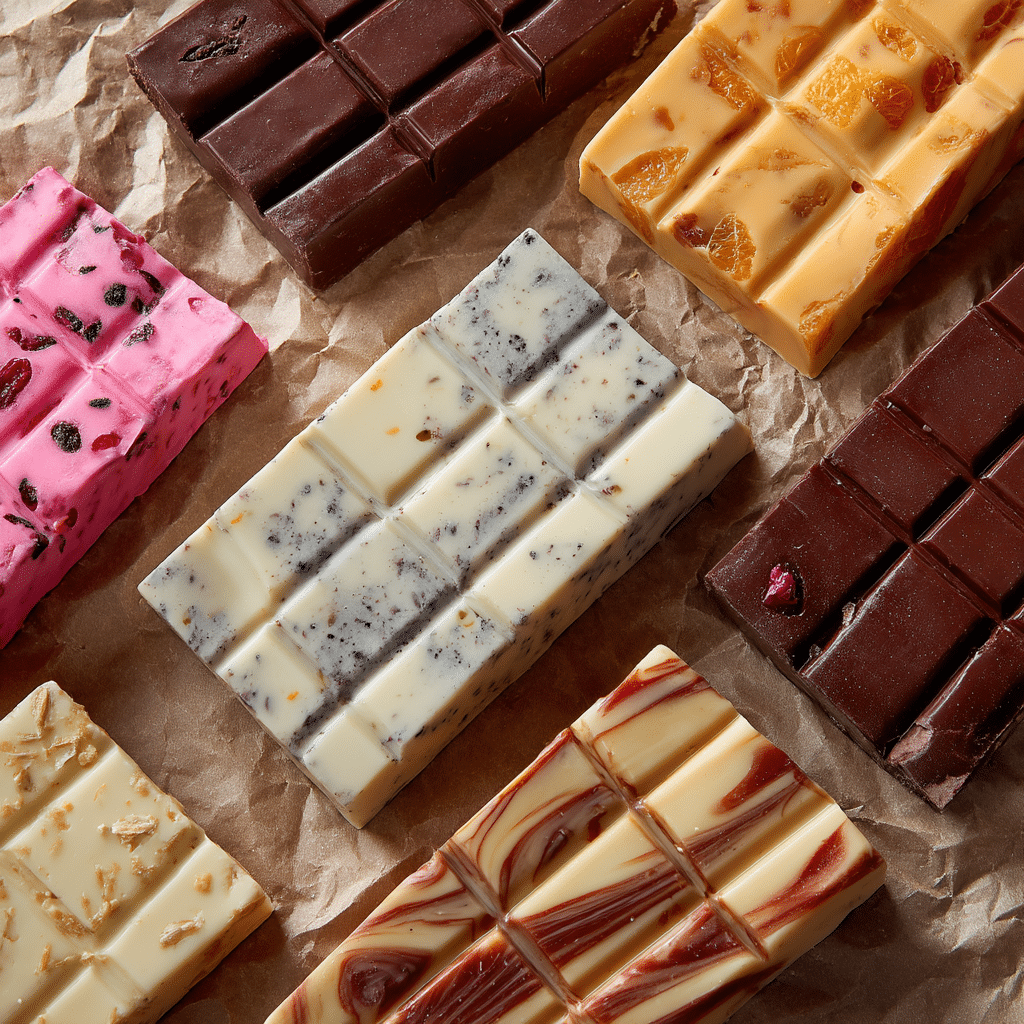
Why You’ll Love This Recipe
Homemade chocolate bars offer complete control over sweetness, ingredients, and flavor combinations. Whether you prefer the bold richness of dark chocolate, the creamy smoothness of milk chocolate, or the sweet, delicate taste of white chocolate, crafting your own bars at home allows for customization without preservatives or fillers. They’re perfect for gifting, snacking, or melting into other desserts.
ingredients

(Tip: You’ll find the full list of ingredients and measurements in the recipe card below.)
For Dark Chocolate
cocoa butter
unsweetened cocoa powder
powdered sugar or maple sugar
vanilla extract
pinch of salt
For Milk Chocolate
cocoa butter
unsweetened cocoa powder
powdered sugar
milk powder (whole or skim)
vanilla extract
pinch of salt
For White Chocolate
cocoa butter
powdered sugar
milk powder
vanilla extract
pinch of salt
directions
Melt the cocoa butter over a double boiler or in a microwave-safe bowl in short intervals, stirring until fully melted.
Whisk in the cocoa powder (for dark and milk chocolate), followed by powdered sugar. For white chocolate, skip the cocoa powder.
Add milk powder for milk and white chocolate versions. Stir well until smooth and fully combined.
Mix in the vanilla extract and a pinch of salt for added depth of flavor.
Pour the mixture into silicone chocolate bar molds or a parchment-lined baking pan.
Tap the mold gently on the counter to release air bubbles and ensure an even surface.
Refrigerate for 1-2 hours, or until completely set and firm.
Remove from molds and store in a cool, dry place.
Servings and timing
This recipe yields 3 standard-size chocolate bars (1 per type).
Preparation time: 10 minutes
Chilling time: 1-2 hours
Total time: 1 hour 10 minutes to 2 hours 10 minutes
Variations
Add chopped nuts, dried fruits, or puffed rice for texture.
Use peppermint, orange, or almond extract in place of vanilla.
Swirl dark and white chocolate for a marbled effect.
Top with sea salt flakes, edible flowers, or crushed candy for decoration.
storage/reheating
Store homemade chocolate bars in an airtight container in a cool, dark place for up to 2 weeks.
Refrigerate in warmer climates.
Avoid reheating, as it can cause the chocolate to seize—melt gently using a double boiler if necessary.
FAQs
Can I use regular butter instead of cocoa butter?
No, cocoa butter is essential for the right texture and flavor in chocolate.
What’s the best mold to use?
Silicone molds work best as they release the chocolate easily.
Is this chocolate suitable for baking?
Yes, especially dark and milk varieties. White chocolate may behave differently when heated.
Can I reduce the sugar?
Yes, adjust to taste, especially if using high-quality cocoa powder.
Why did my chocolate turn grainy?
Overheating or moisture contamination can cause graininess. Stir gently and avoid water contact.
Can I make it vegan?
Yes, use plant-based milk powder and a vegan sweetener.
Why is my chocolate not shiny?
Tempering chocolate gives it a glossy finish, but this recipe is more for homemade simplicity than professional shine.
Can I use honey or maple syrup instead of powdered sugar?
It’s not recommended, as liquid sweeteners can affect texture. Use powdered forms for best results.
Do I need to temper this chocolate?
Not required for homemade bars, but optional for a professional finish.
Can kids help with this recipe?
Yes, with adult supervision during melting and pouring steps.
Conclusion
Making homemade chocolate bars is a rewarding and customizable kitchen project that allows you to enjoy your favorite chocolate in its purest form. Whether you go dark, milk, or white, the results are delicious and perfect for any chocolate lover looking for a hands-on treat.
Print
How to Make Homemade Chocolate Bars (Dark, Milk, White)
- Prep Time: 15 minutes
- Cook Time: 10 minutes
- Total Time: 25 minutes
- Yield: 6–8 bars 1x
- Category: Dessert
- Method: No-Bake
- Cuisine: Universal
- Diet: Vegetarian
Description
Learn how to make delicious homemade chocolate bars in dark, milk, and white varieties using simple ingredients. Perfect for gifting or indulging!
Ingredients
- 1 cup cocoa butter (for all types)
- 1/2 cup cocoa powder (for dark and milk chocolate)
- 1/4 cup milk powder (for milk and white chocolate)
- 1/2 cup powdered sugar (adjust to taste)
- 1 tsp vanilla extract
- Pinch of salt
- Optional: nuts, dried fruits, or flavorings
Instructions
- Melt cocoa butter in a double boiler over low heat.
- For dark chocolate: whisk in cocoa powder, powdered sugar, vanilla, and salt until smooth.
- For milk chocolate: add milk powder along with cocoa powder and whisk until combined.
- For white chocolate: omit cocoa powder and add milk powder and powdered sugar, whisk until smooth.
- Pour the mixture into silicone chocolate molds.
- Tap molds gently to remove air bubbles.
- Allow to set at room temperature or refrigerate until firm.
- Unmold and store in an airtight container in a cool place.
Notes
- Use food-grade cocoa butter for best results.
- You can temper the chocolate for a glossy finish and better snap.
- Adjust sugar to taste depending on how sweet you prefer your chocolate.
- Store in a cool, dry place to avoid melting or bloom.
Nutrition
- Serving Size: 1 bar
- Calories: 210
- Sugar: 14g
- Sodium: 20mg
- Fat: 17g
- Saturated Fat: 10g
- Unsaturated Fat: 6g
- Trans Fat: 0g
- Carbohydrates: 18g
- Fiber: 2g
- Protein: 2g
- Cholesterol: 5mg
Your email address will not be published. Required fields are marked *